
Tips and Tricks for Presenting Virtually
Let’s face it, a lot has changed within the past year, and knowing how to present yourself in an online meeting can mean being more aware of your personal style, as well as your environment. In our recent webinar, The 2021 Partner Imperative: 5 Reasons Why DIY Events Won’t Cut It This Year, our panelists provided tips and tricks to help keep your presenters looking, feeling, and sounding flawless.
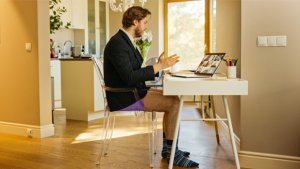
Stand Up and Be Seen
First, for everyone’s sake, put some professional pants on. While leisurewear became the latest fashion trend of late, it should not be your ‘go-to’ ensemble for your virtual presentation. When appearing on camera, keep it simple by steering clear of outfits that are very busy with pin stripes or tight patterns. Depending on the camera filter, this could create an undesired moiré effect. The best approach is to wear solid colors that are not too bright or distracting. Strong contrast between background and subject is also important, so be sure you tailor your outfit to your environment. If possible, try standing rather than sitting for your presentation. According to a Forbes’ article, standing up provides a higher energy level and forces us to put our body in a more presentation-like mode.
Put Yourself in the Best Light
Keep your background somewhat basic. Best practice is to avoid having bright lights or windows behind you, as that will greatly affect your camera shot. Lighting should be a warm, indoor light in the range of 3200K (a default indoor, artificial light, warm or neutral white with a little more yellow) to 4000K (outdoor light, cool white), which is what webcams are set to. However, you only need to worry about camera temperature settings if you are using a prosumer, commercial plus professional camera or better. void combining outdoor light with indoor light as much as possible.
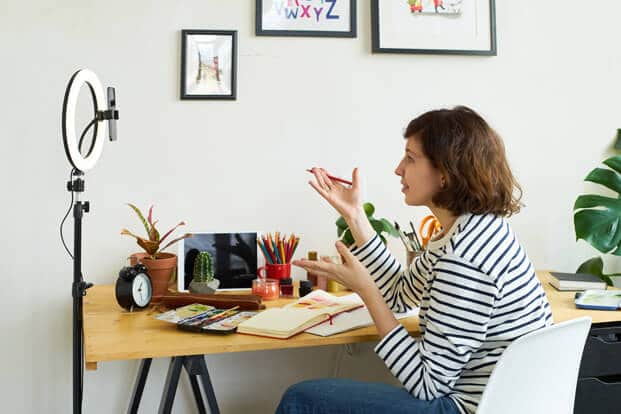
Position Your Camera
Camera placement is a simple concept but crucial to getting a good shot. If your environment allows for it, and you are using a prosumer camera, try to stand up and keep 4-5 feet away. Camera distance will vary greatly depending on the camera type. Most webcams do not have a zoom functionality, so you are limited in this respect. Webcam focal distance for a headshot is usually 2-3 feet for a presenter in a seated position. If you wish to achieve a full body shot, the camera can be moved back as needed. However, keep in mind that when presenting online to a laptop, people’s screens are much smaller than a TV so try to fill the window as much as possible.
If using a webcam that has a fixed zoom, the camera needs to be positioned in a way that frames the subject where they are seated. In any shot, the subject should be positioned in a way that the top of their head is just within the top of the frame. Too often speakers have too much room above their head in their shots (headroom). The camera lens should be at eye level. This is easy when using a camera with a tripod, but If using a webcam or integrated webcam from a computer, this can be a little tricky, so some creativity can help. Using books or boxes to raise the computer camera to eye level is an easy but important fix.
When speaking with a panel, it’s natural to look at them when speaking; however, in the virtual world this can look odd on screen. Presenters should try their best to not look at the other panelists while talking, but rather remain focused on the camera lens as much as possible. If working off content like a PPT or notes, try to position it as close to the focal point of the lens as possible. This will yield a much more engaging session.
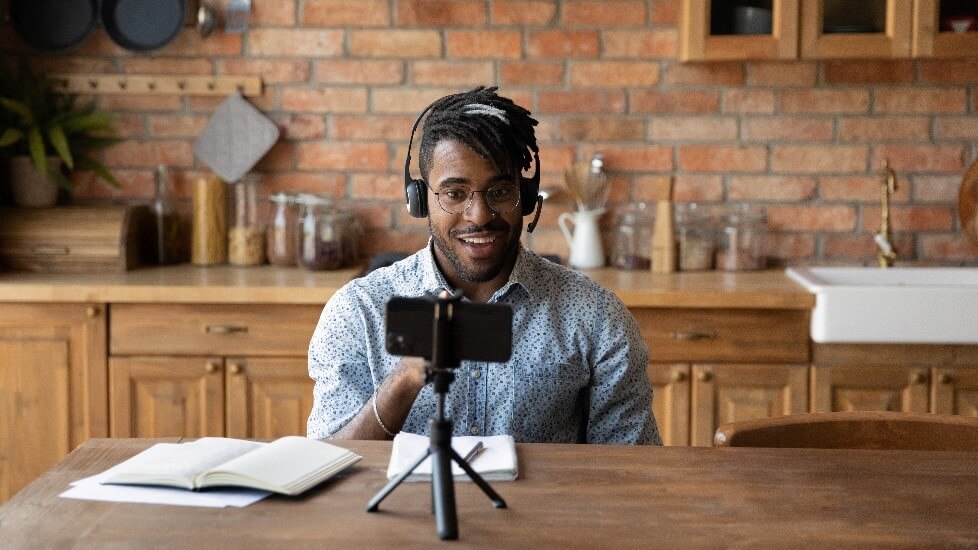
Maximize Your Audio
Headphones with a built-in mic (like AirPods) or the built-in, default mic on higher-end laptops are ok for basic use, but a professional, external mic will yield the best quality. You will need to do a test record from whatever device or program you are using to hear the audio levels and see the quality of video as it will be seen on the stream. If using the camera App on a PC or Mac, the recording is very easy: Just open the camera App and choose the video recording option; if using external equipment, this is where DIY may be difficult for some inexperienced users. When doing this, start with the mic level (if available) at 2/3 of maximum and adjust as needed after viewing your test record.
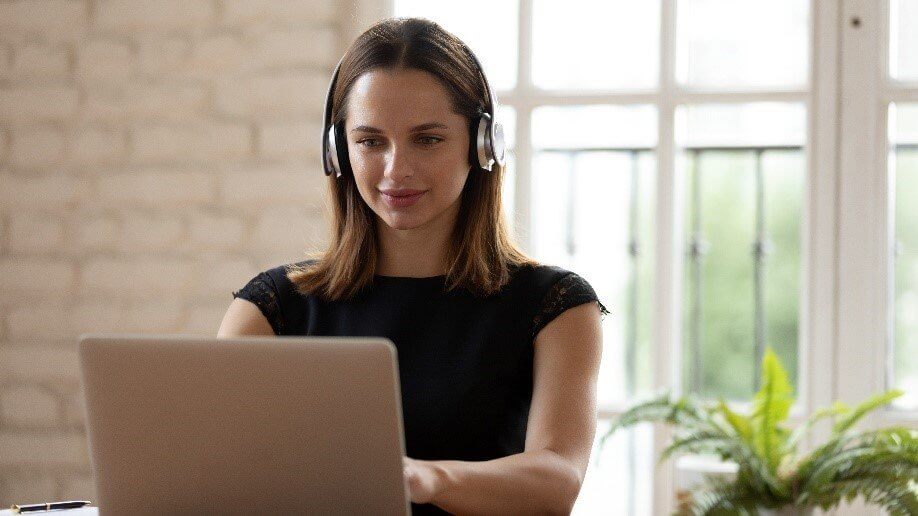
Set Up Equipment for Optimal Performance
When utilizing a personal work-issued computer device, here are a few things to keep in mind to ensure your equipment will provide optimal performance during your presentation:
- If possible, use a stable/wired internet connection
- Disconnect anything from the internet on the same network that is not needed during your session (i.e. video games and other server connections)
- Depending on the video quality you wish to stream, internet up speeds should be no less the 5Mpbs per outgoing stream, check this by typing “speed test” into your browser to run a quick test of your internet upload and download speeds
- Disable any automatic updates on your computer
- Ensure your power is set for optimal performance and your battery settings are set to NEVER sleep or dim
- Lastly, exit out of all other applications except the ones you need for your presentation, and close any unnecessary windows
For sessions where top quality is not required or possible due to budget restraints, the on-board equipment that comes with a later model, higher-end laptop will suffice. However, when you need professional or even prosumer equipment and expertise, SmartSource has you covered every step of the way to help make you look as good in your living room as you would in a professional studio.
We have the ability and know-how to provide you with professional presenter kits that will produce the best quality audio and video for your audience. Learn More.